A Mailbox is where incoming mail from your lead source will be stored. To create your first Mailbox, go to the Email Parsers Page.
Create
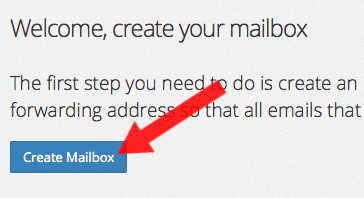
Click the "Create Mailbox" button to get started.
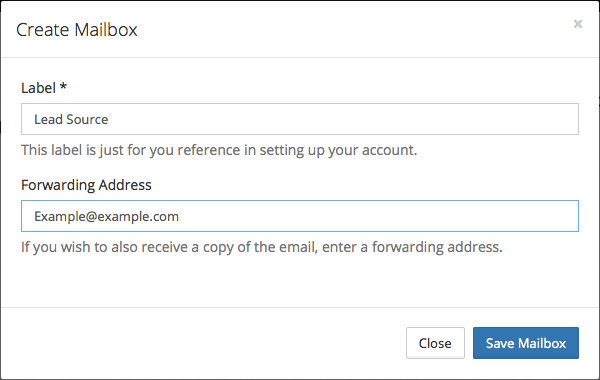
Give your Mailbox a Label. The label is for your reference only, it can be anything that you want. You may also want to receive the emails that Parsey receives as well. To do this, type the desired email address in the Forwarding Address field. Then click "Save Mailbox".
Configure
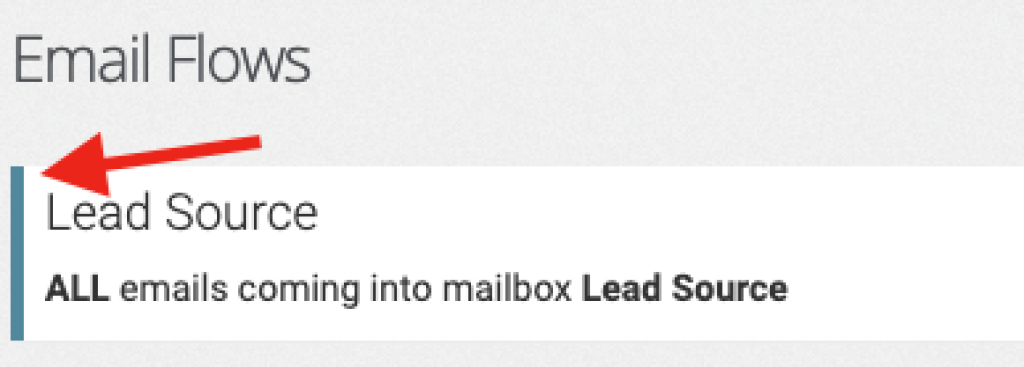
Fields are the values that will be parsed from the email and populated into Infusionsoft. In order to start configuring your extractions, your Parser must first receive a notification email from your lead source. To tell if your fields are ready to be configured you should see a blue indicator on your Email Flow
Once you can see this message, move on to the next step.
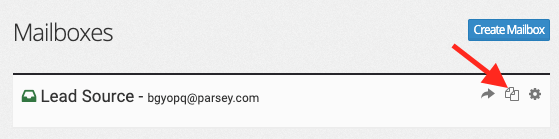
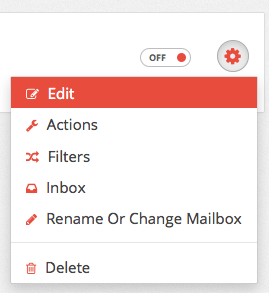
Click on the gear icon for your Parser and select "Edit" from the drop down menu.
Creating Your First Field
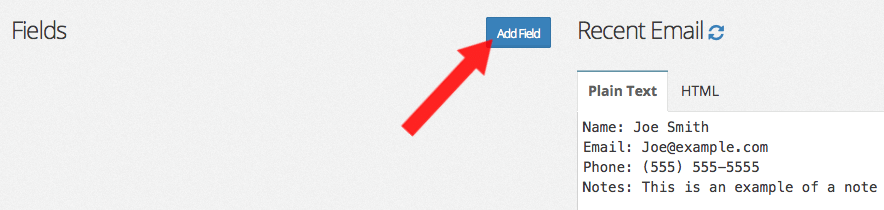
To get started, click "Add Field".
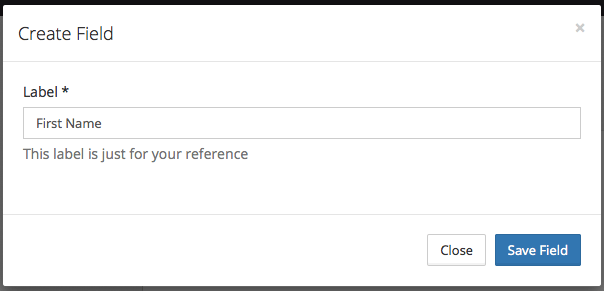
Label The Field
Give your first field a Label. Labels are for your reference only, but usually they will reflect the content of the email. Once you are done, hit "Save Field".
Select The Value
Now highlight the information that you would like extracted and click "Yes".

Verify The Information
A window will appear that will compare the information that you extracted with information from another email. Usually if the information doesn't compare correctly or there is no other recent email, it will still work just fine.

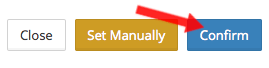
If you are satisfied with the field, click "Confirm".
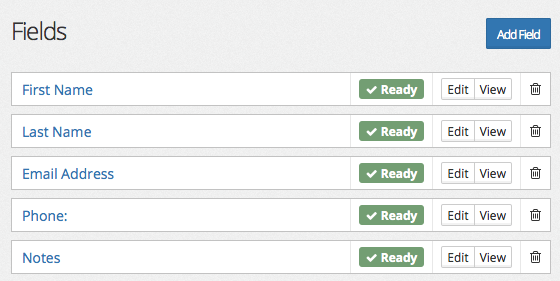
Continue configuring extractions for the rest of the content that you would like parsed from the email. Once you are done, it should look something like the image below.
Continue on to the next part by clicking on the service you are wanting to integrate with.