Before you read this article, we have a new setup article we recommend for all of our users. You can find that here.
This article will help you understand how to configure and set up your DocuSign Parsey Integration.
Step 1: Create Mailbox in Parsey
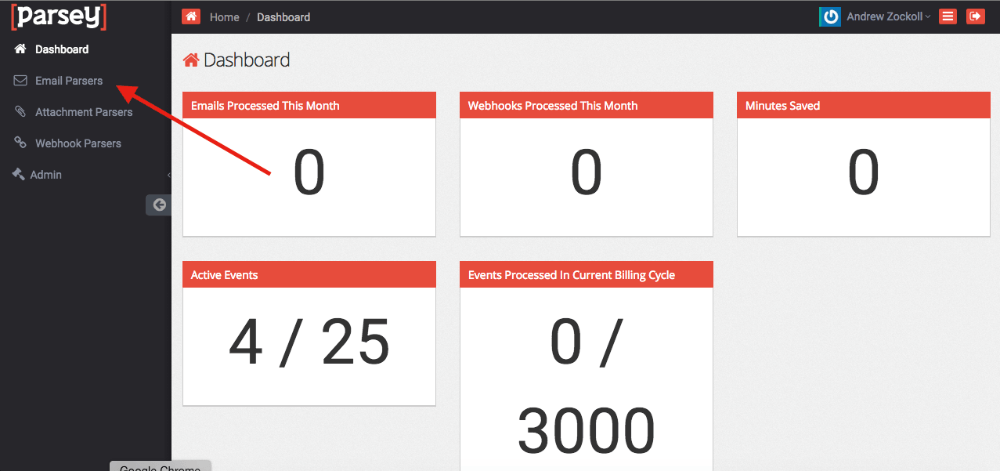
Select " Email Parsers" on the left hand side of your Parsey account.
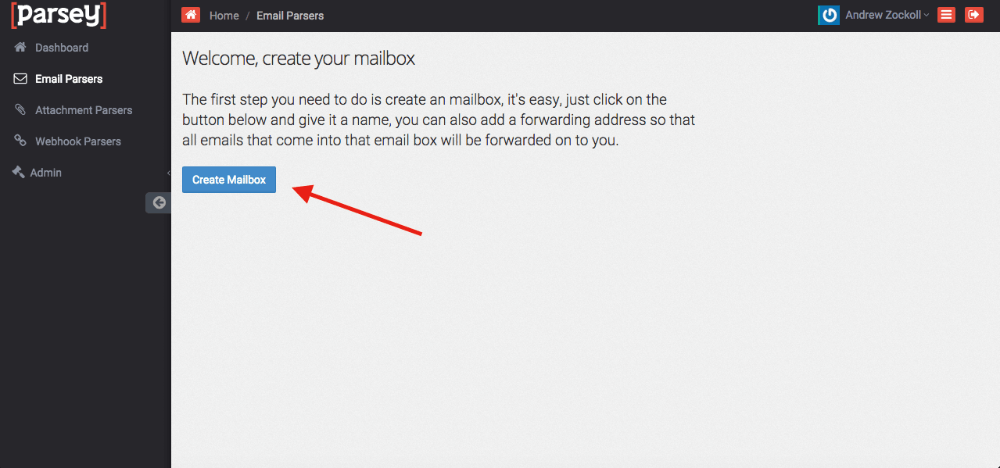
Then select " Create Mailbox"
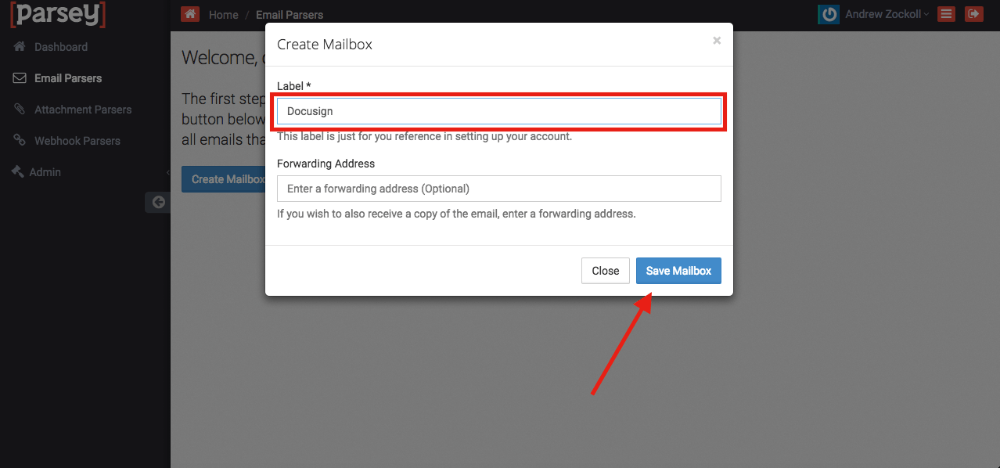
Label the Mailbox anything you want.
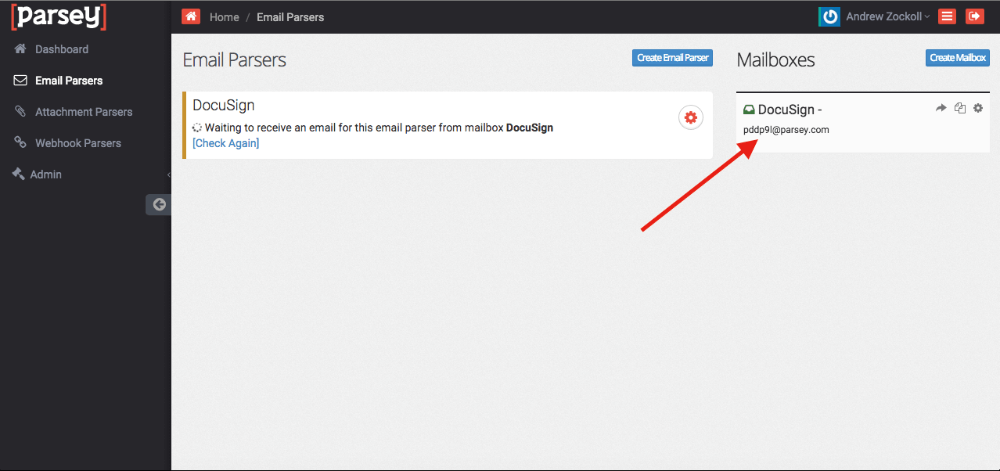
Two boxes will populate. One under "Email Parsers" and the other under "Mailboxes". Under the "Mailbox" you will see the label you chose and an email underneath it. This is your Parsey email for DocuSign. You will need this later.
Step 2: DocuSign
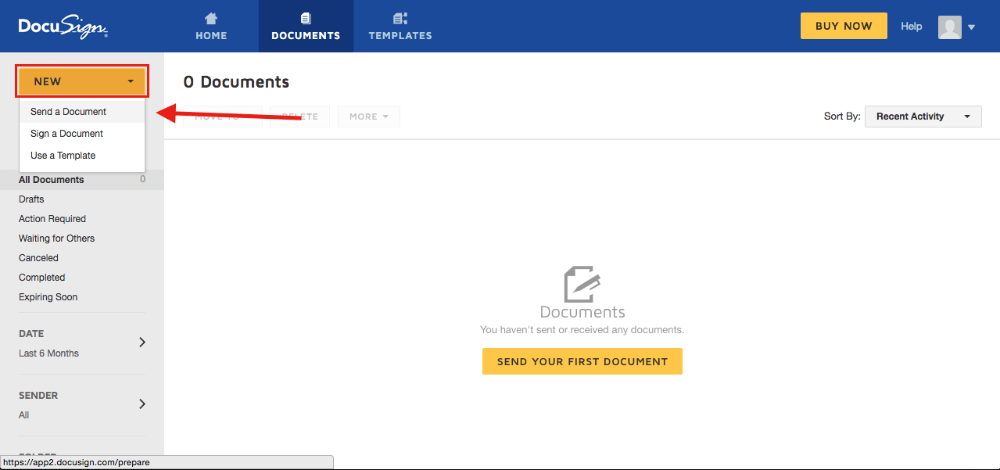
These steps inside DocuSign will need to be repeated every time you send a document. Start by selecting "Send a Document" under the "New" dropdown menu.
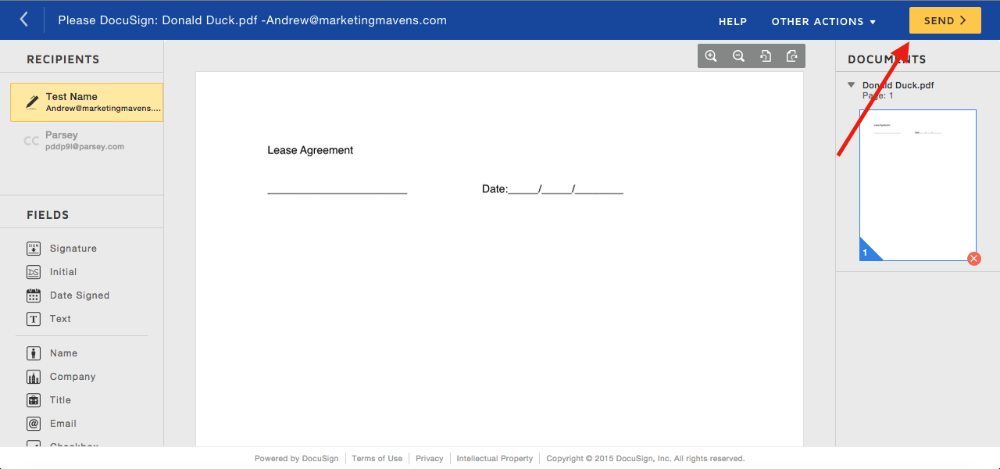
Select a document to upload. Once you do that enter the recipients name and email. Make sure that it says "Needs to Sign" on the far right.
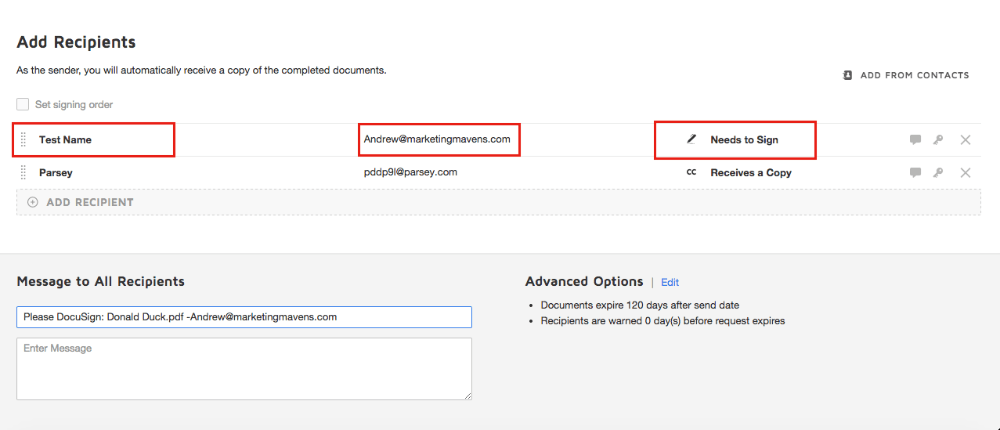
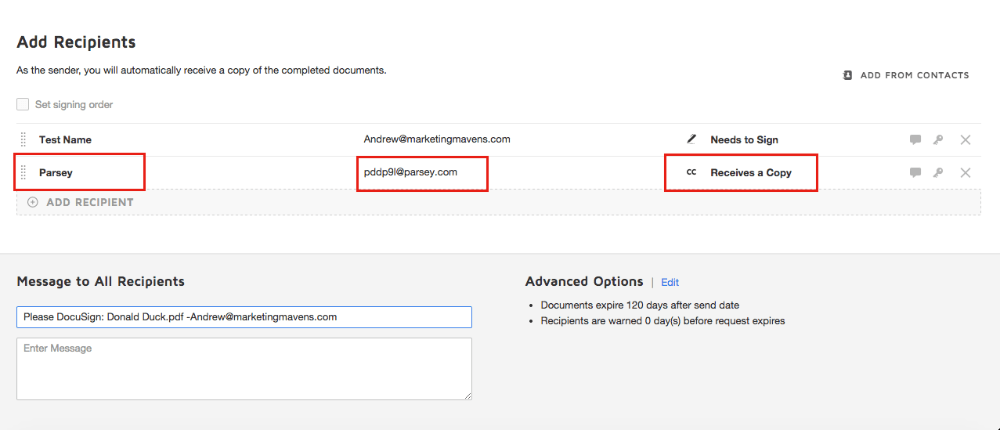
Then select "Add Recipient" directly below the customers Name or in the case "Test Name". Then add Parsey as the second recipient and the email of the Parsey mailbox you created earlier. Make sure that you change the "Needs to Sign" to "Receives a Copy" for the Parsey recipient.
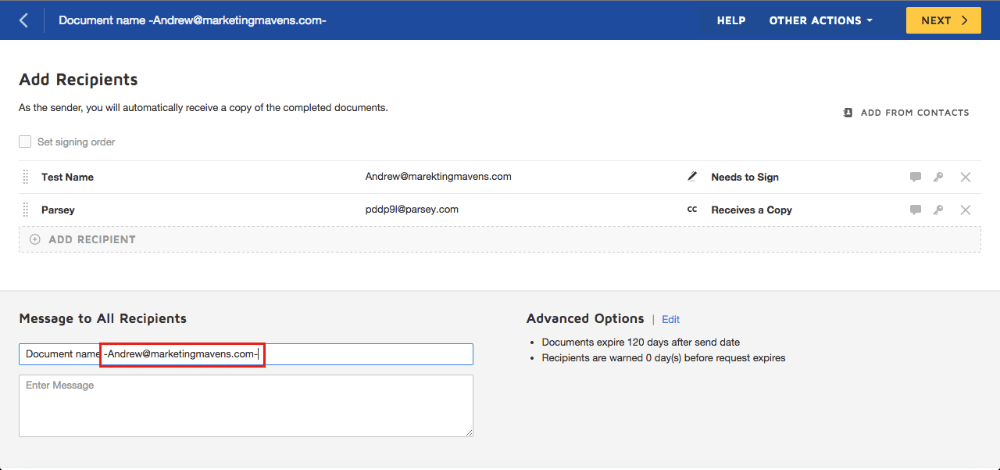
Now copy and paste the intended recipients email in the subject line of the email. NOTE:Make sure you add two hyphens to the email in the subject line. One at the end and one before the email. (i.e. -andrew@gmail.com- )
Now select "Next" in the top right corner.
Then make an adjustments needed and select " Send". Wait a few moments until the email has reached Parsey.
Step 3: Configure your Parsey Email Parser
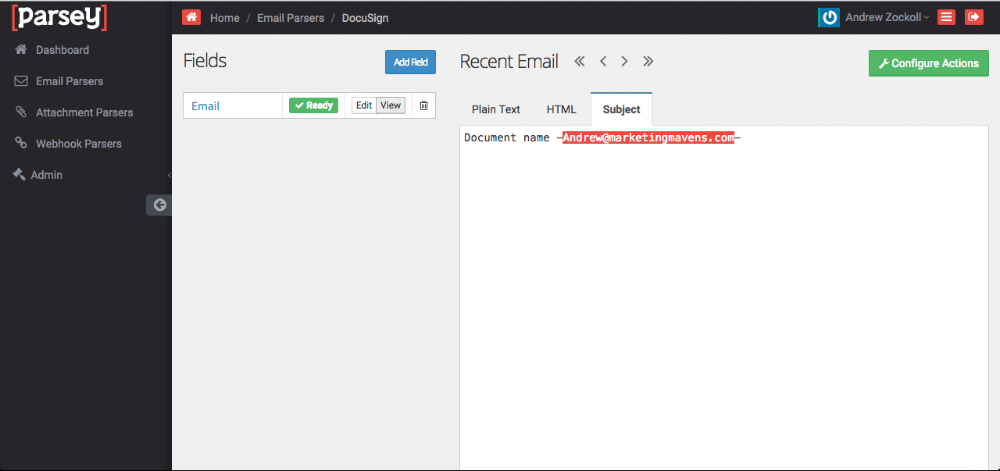
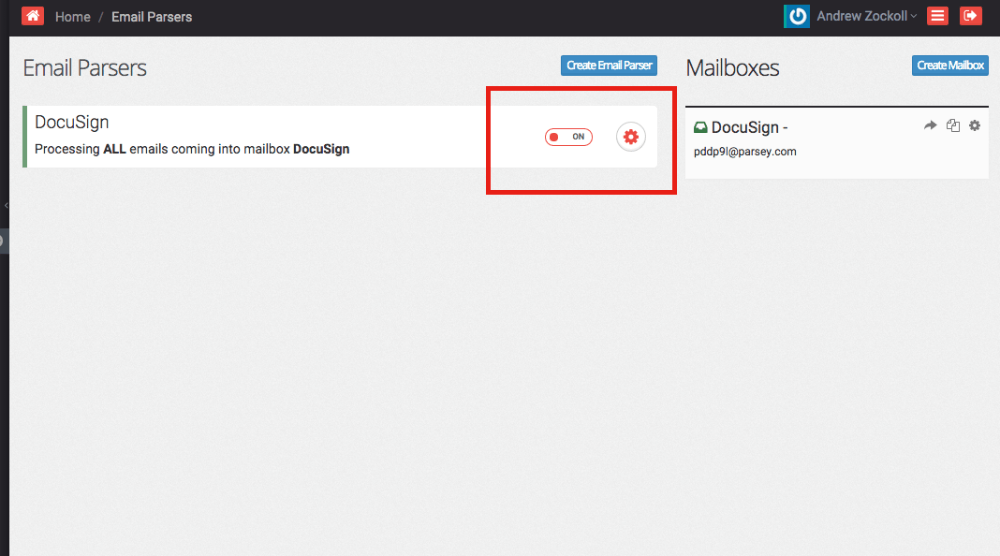
You will know when the DocuSign email has hit Parsey because your email parser will no longer be yellow on the left side of it and it will not say checking for emails. It will now be blue and say "ALL emails coming into mailbox DocuSign".
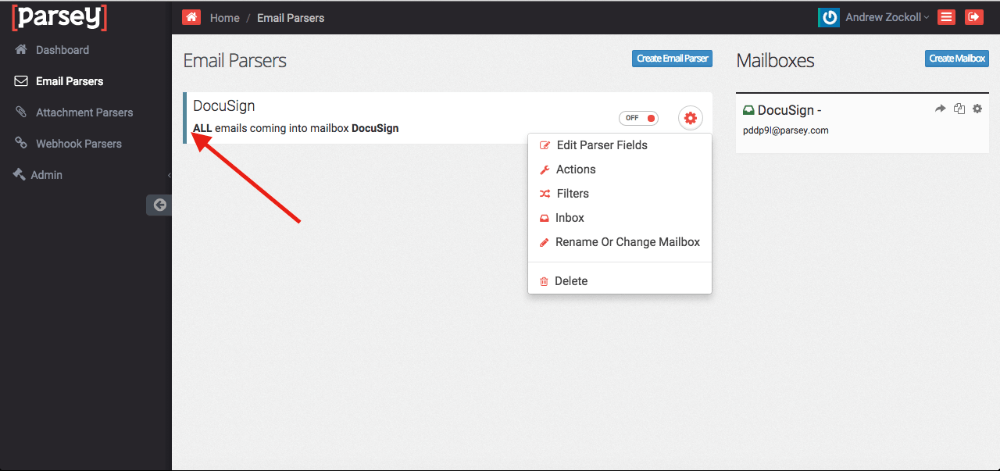
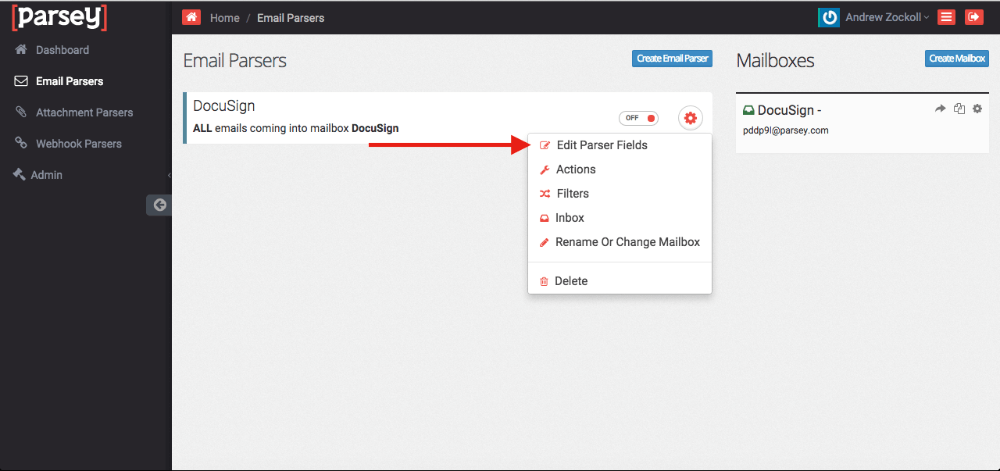
Select the gear icon with a circle around it and click on " Edit Parser Fields".
Now select "Add Field"
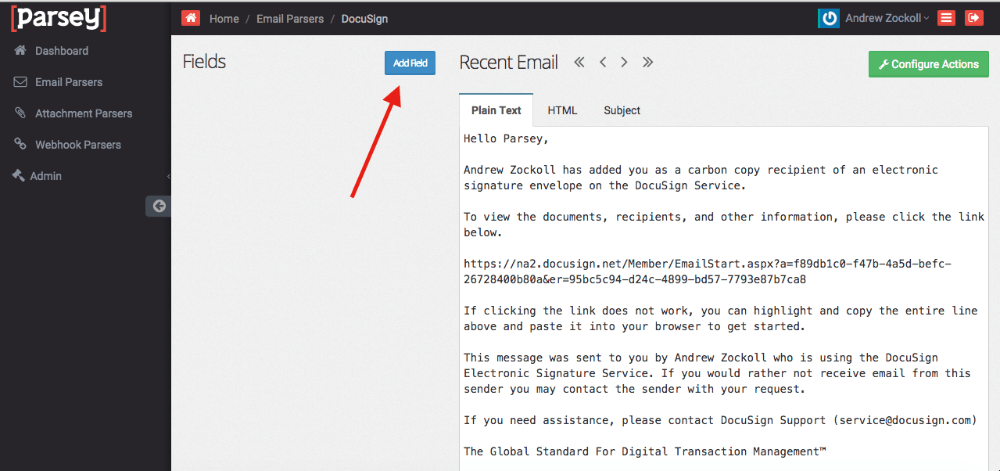
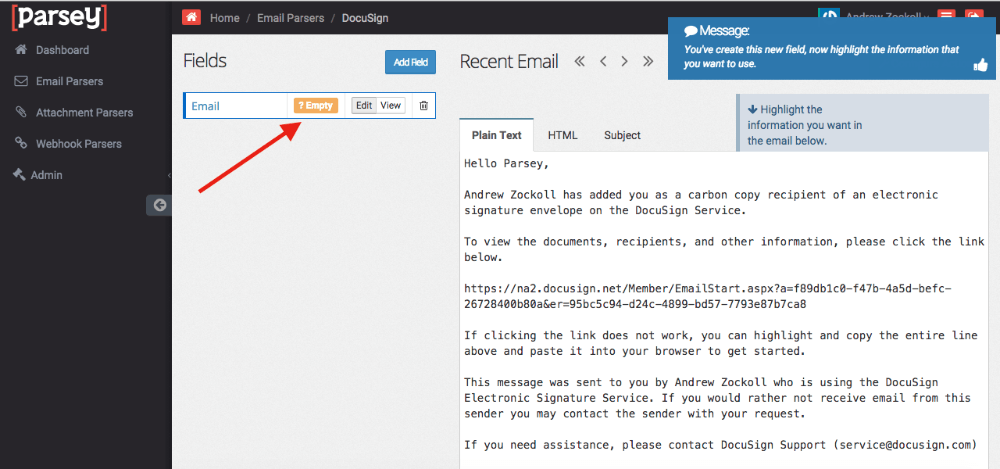
Label the field "Email"
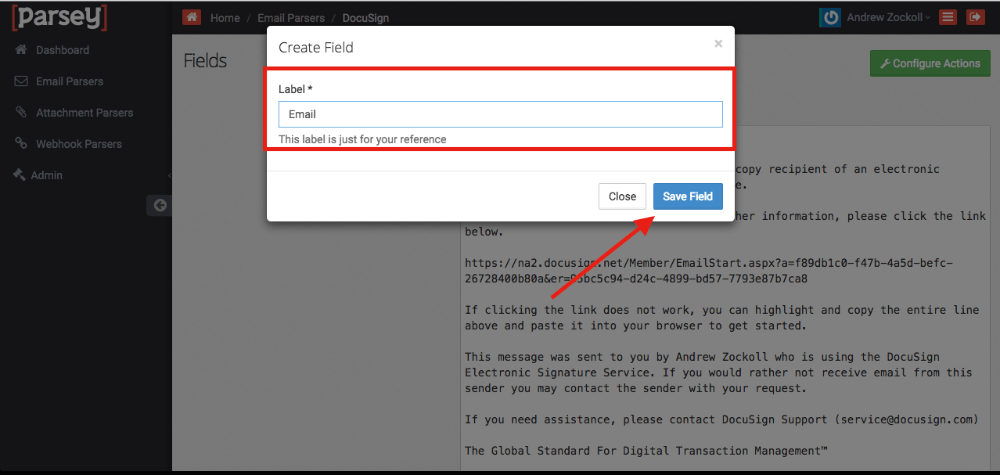
Immediately select the yellow "Empty" icon.
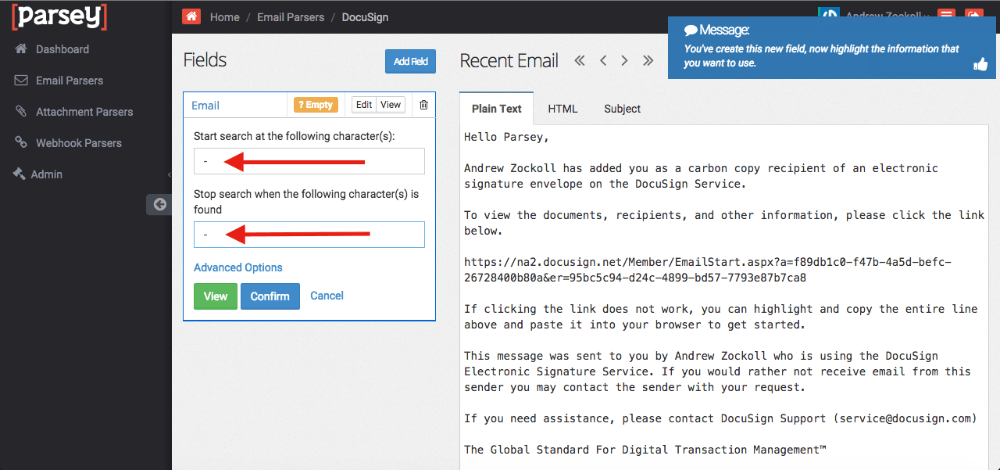
Add one hyphen in the top box labeled "Start search at the following character(s):" and another hyphen to the bottom box labeled "Start search at the following character(s):".
Now select "Advanced Settings" and and change the default from "Plain Text" to "Subject"
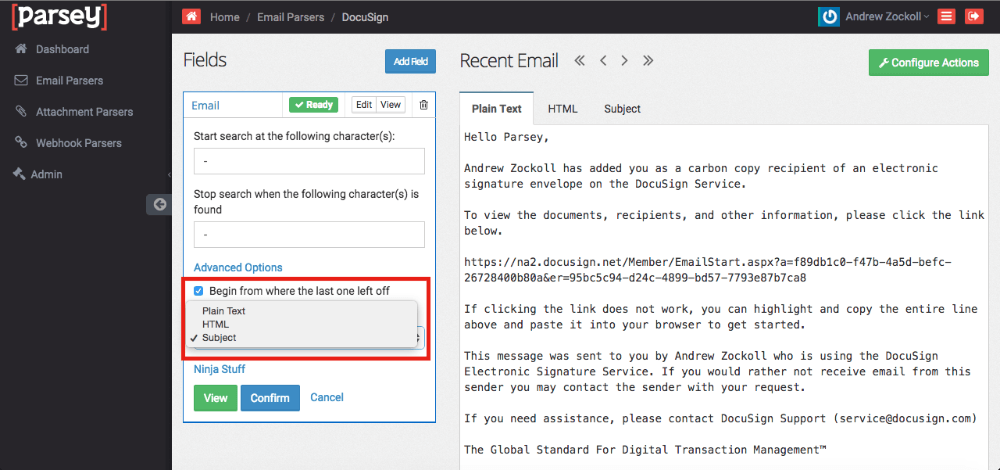
Now select the green "view" button below. When you select view, the email that you put between the two hyphens in Docusign should light up. This means you set it up right. Do not forget to hit "Confirm" if you haven't already.
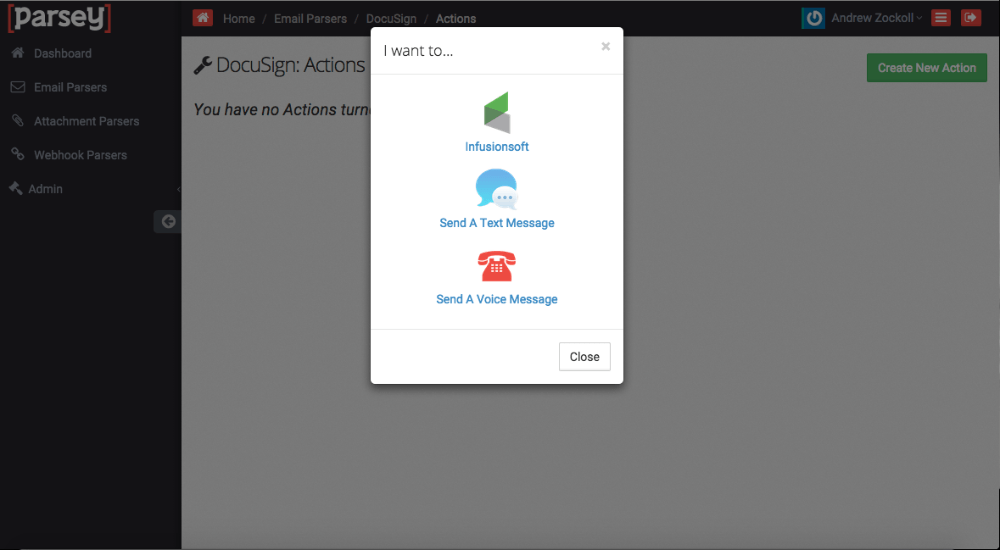
In the top right corner select "Configure Actions" and then choose Infusionsoft.
If you are having issues connecting to your Infusionsoft follow this article on how to connect your infusionsoft.
Step 4: Infusionsoft Set up
Create Custom Fields or Tags
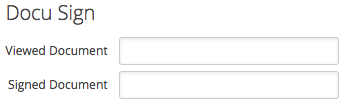
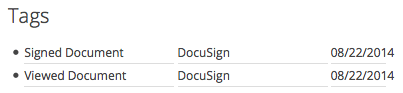
To get started, you will want to create either two Custom Fields, or two Tags inside Infusionsoft. You will need to label them Document Viewed and Document Signed. We will leave these alone for now.
Create and Configure the DocuSign Campaign
Create a new Campaign.
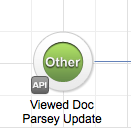
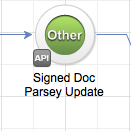
Drag the Other campaign goal onto the canvas.
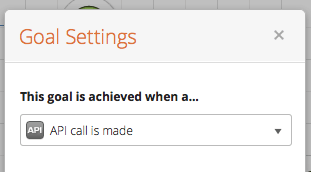
Change the Goal Settings by double-clicking the tag icon on the goal. Set it to API call is made.
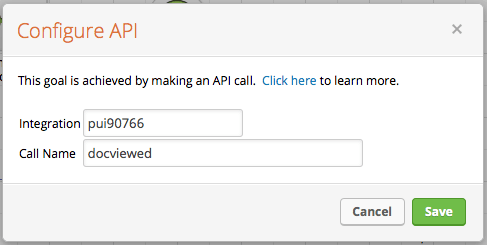
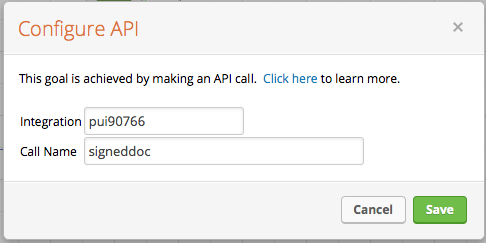
Configure the API by double-clicking the goal. Give it a Call Name. We recommend using docviewer. Hit "Save".
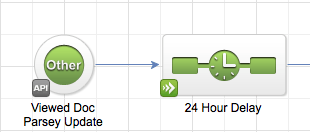
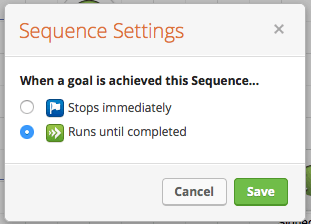
Drag a sequence onto the canvas. This will be your delay sequence. Double-click the blue flag to enter the Sequence Settings. Select the "Runs until completed" radio button and hit "Save".
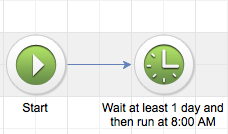
Enter the Delay Sequence to configure it. Drag a Delay Timer onto the canvas and double-click it to set it.
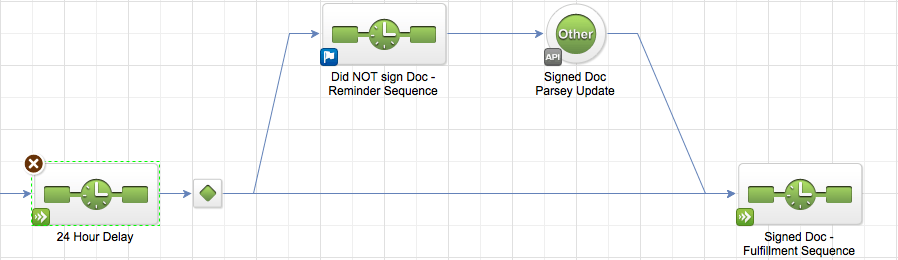
Now you will need to connect your Delay Sequence to two other sequences. The top Sequence will be labeled Did NOT Sign Doc - Reminder Sequence. The Bottom one will be labeled Signed Doc - Fulfillment Sequence. When you connect the two sequences to your delay sequence, a decision diamond or "node" will appear. Double-Click the node to configure the rules for the decision.
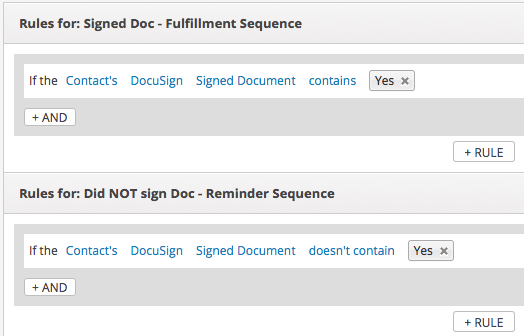
This is how you should configure the rules. You will notice that both of these sequences are dependent on whether or not the Signed Document field or your Signed Document tags have been applied to the contact record.
Did NOT Sign Doc - Reminder Sequence

Your Reminder Sequence can have any content that you prefer. We have configured ours to send a reminder email, a text through Parsey, and a phone call through Parsey with a 24 hour interval between each one.
Now you will need to drag another Other goal onto the canvas and connect it to the Did NOT Sign Doc - Reminder Sequence. Configured it for when an API call is made. Give it a call name similar to this. This step doesn't make sense right now but It will soon, I promise.
Signed Doc - Fulfillment Sequence

Inside our Signed Doc - Fulfillment Sequence we just have a Thank You email that the contact will receive after they sign the document.
Once you have everything configured up to this step you can safely remove everything from draft mode and publish the campaign.
Step 5: Parsey Actions and Filters
When you are finished with the Infusionsoft side in step 4 then go back to you Parsey account and select "Email Parsers" on the right hand side.

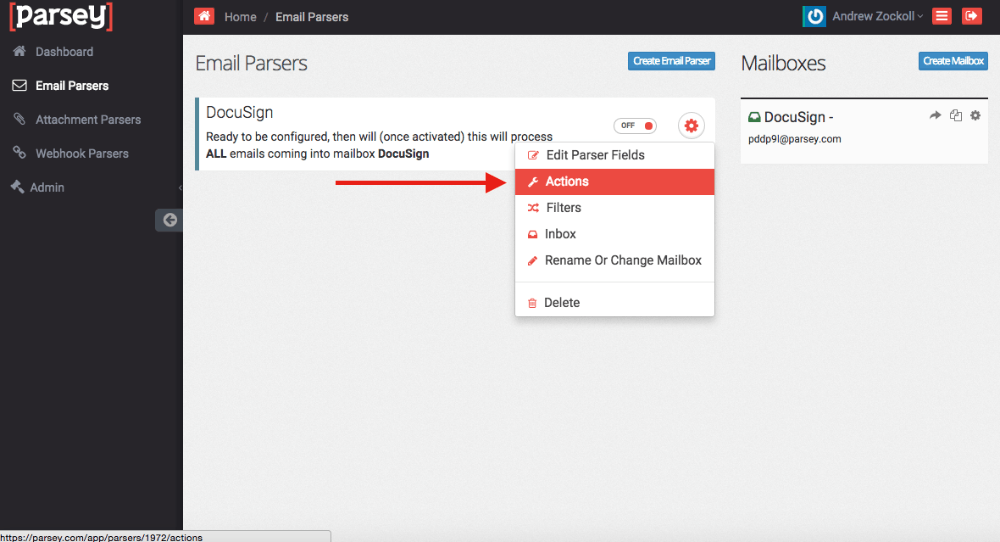
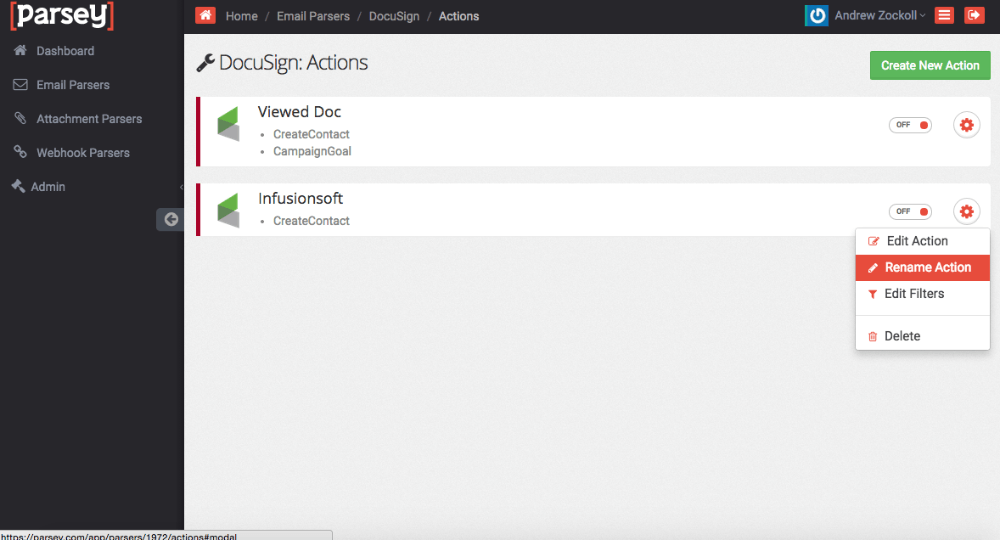
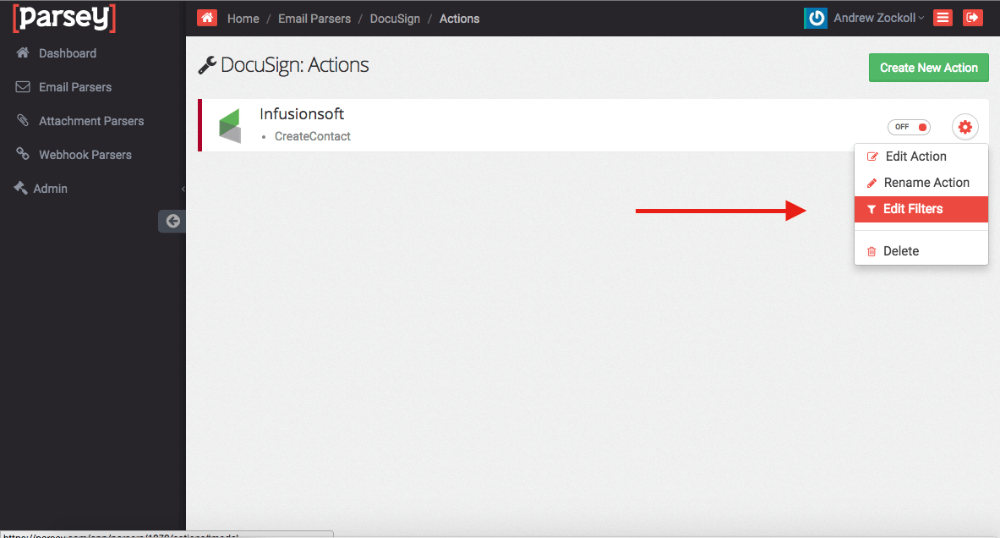
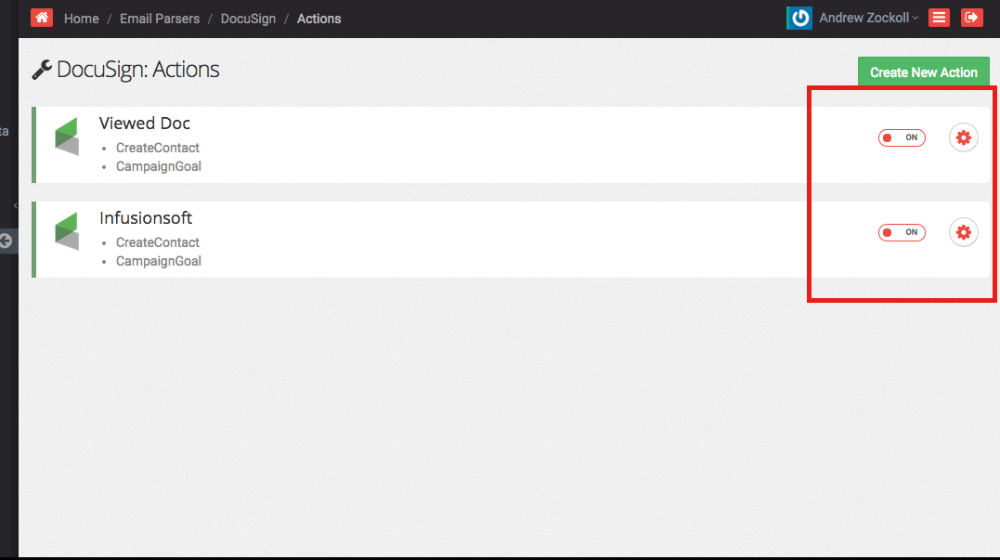
Select the gear icon of the DocuSign Parser and in the dropdown menu select "Actions".
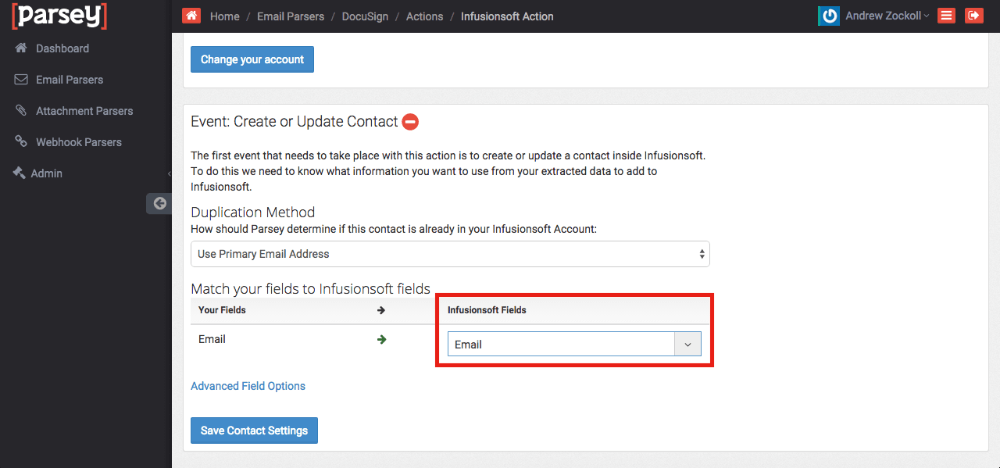
For the email field we created in Parsey match it to the email field in Infusionsoft and then press "save contact settings".

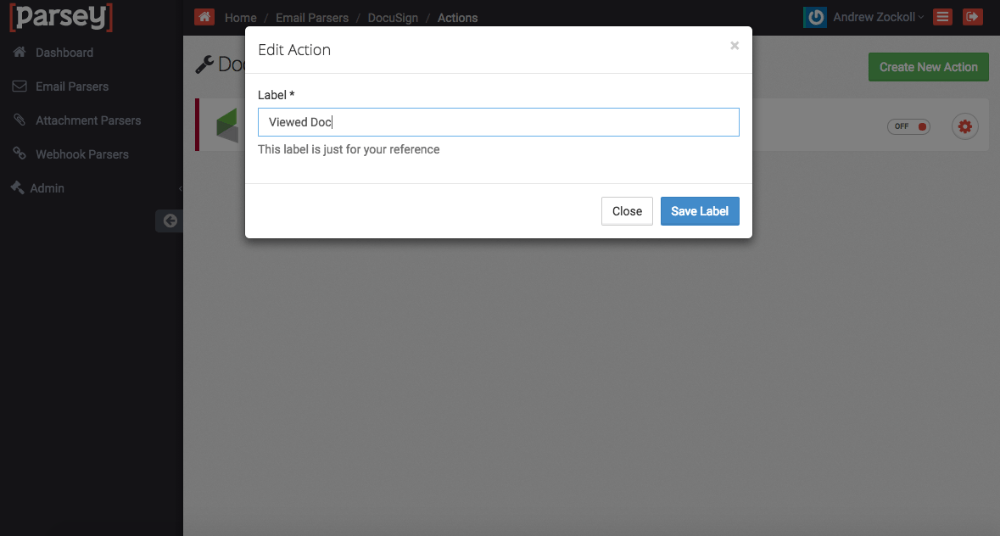
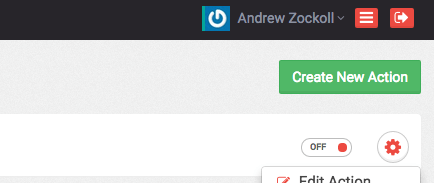
Now it is time to name your actions and set filter criteria. Select the gear icon of the action and select "Rename Action"

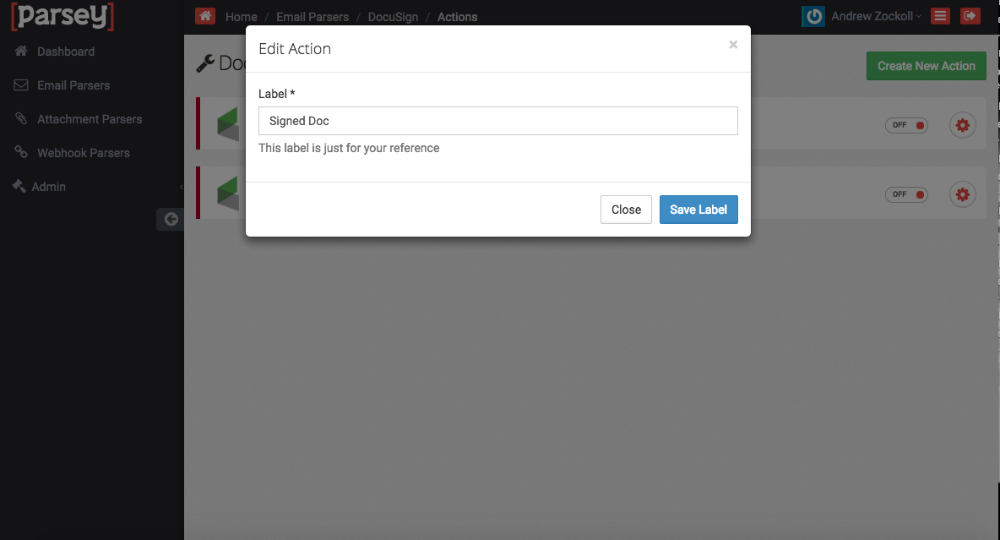
Label this action "Viewed Doc"
Now we are going to set a filter criteria so that these actions will only run if they customer has viewed or received the document. Select the gear icon again and this time select "Edit Filters"

Copy the filter criteria you see below for the left two boxes and then enter " Please DocuSign:" in the far right box.

In the top right corner select the green button labeled "Create New Action"
Connect this action into your Infusionsoft account by selecting "Infusionsoft".

Just like you did before, match the Parsey field with an Infusionsoft field. Which for DocuSign will be the Infusionsoft field "Email" and then press "Save Contact Settings"
Go back to your Parsers action page and you should see two actions now. Select the settings gear icon of the action that is not labeled and select "Rename Action"
Name this action 'Signed Doc'.
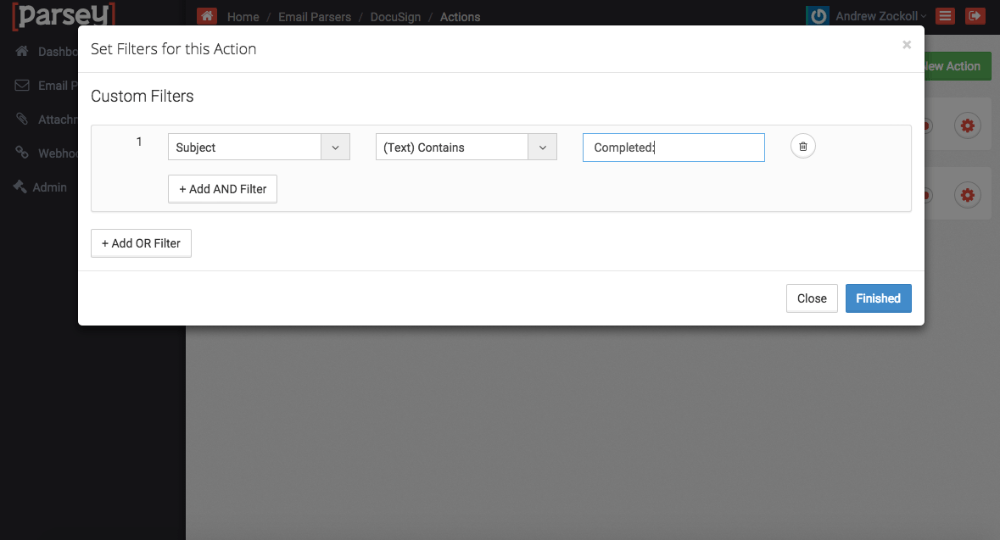
Select the gear icon for your Signed Doc actions and select the "Edit Filters" option.
Enter the filter criteria you see below for the left two boxes and enter "Completed:" in the right box.
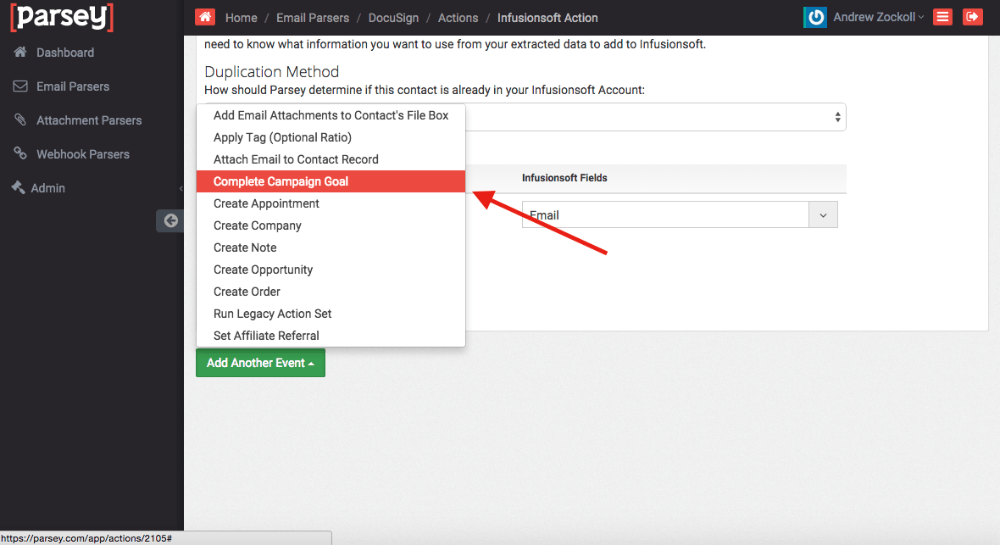
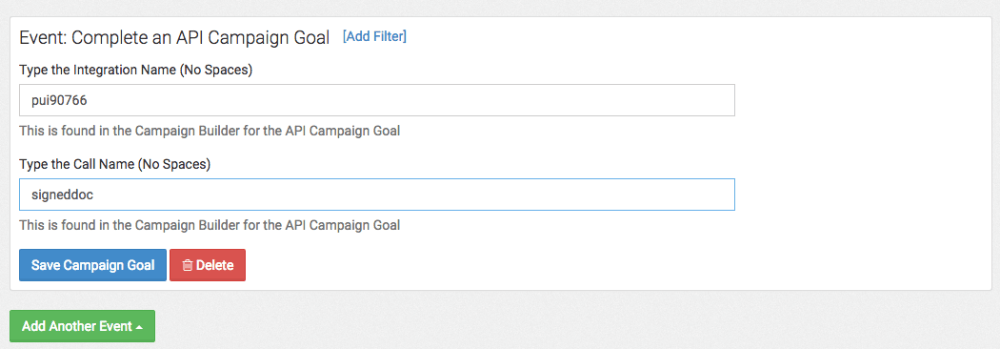
The next step needs to be done for both your viewed and signed actions you just created. Select the Gear icon for one of your actions and the select "Edit actions". Then you will see the screen below. Select the "Add Another Event" and then select "Complete campaign goal".
For this part the information will vary depending on what you put for the infusionsoft set up portion of this article. We are using the information that was demonstrate in step 4. Enter the integration and call name you chose for your Infusionsoft campaign. This is an example of what your viewed actions would look like.
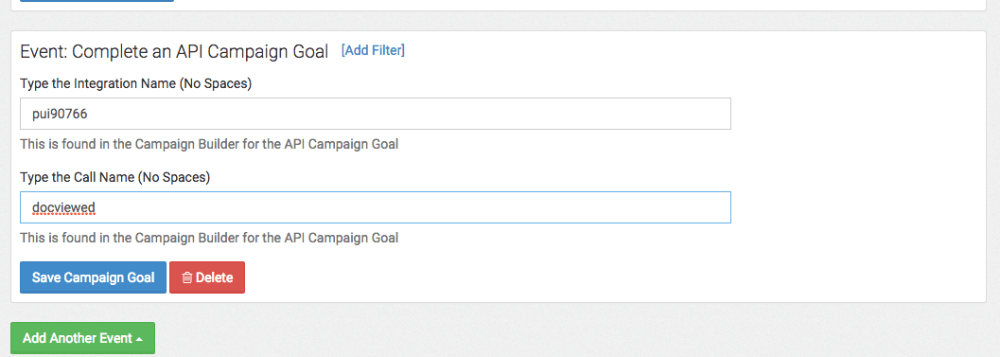
This is what your signed action should look like. Note: Do not forget to leave the viewed actions and then go the "edit actions" of your signed actions.
Now its time to turn on your actions and email parser.
Now send another Document. In Infusionsoft you will see the test email waiting in the viewed campaign portion. Then sign the document and you will see the test email move to the signed portion of the campaign.
That's it your done. The only portions you will need to repeat every time is CC Parsey in Docusign and hyphenating the clients email in the subject line.